


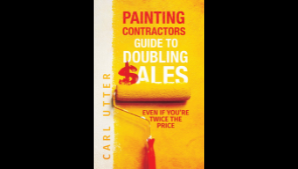
Painting Contractors Guide to Doubling Sales is Now a Book!
Sales Consultant Carl Utter wrote the book on doubling your sales if you're a painting contractor. Now you can download two free chapters. A six step selling system that will crush the competition regardless of your price.
Learn More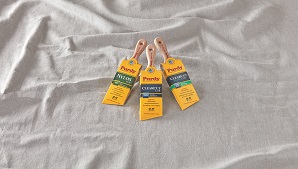
Tool of the Week
Purdy has added three new brushes to its Cub Brush line. The shorter handle allows painters to easily reach tight spaces when cutting in corners, painting cabinets and shelving, and doing trim work.
Check it Out

Current Issue
Covering application techniques, new products, business techniques and news, APC is the trusted tool
READ NOW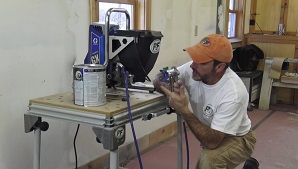
Video of the Week
Prep2Finish's Todd Pudvar and Scott Burt cover the best practices for spraying latex on interior doors.

Podcast of the Week
Here’s the refresher you need before hiring and onboarding a new employee. Job description, apprenticeship checklist, 7- 30- and 90-day reviews, EIN, W-4, I-9…everything you need to protect new hires from becoming flashes in the pan.
Listen Now